
1)Create a file with white background , press D and go to Filter--Noise--Add Noise: 2)Apply Filter--Blur--Motion Blur.Make a rectangular shape using Regtacular Marquee Tool and go to Select--Modify--Smooth then select 20 pixels. Press Shift+Ctrl+I and paint it black.
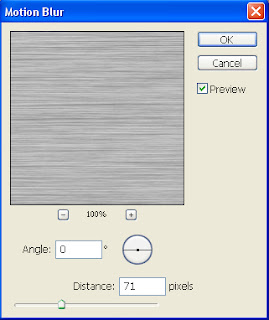
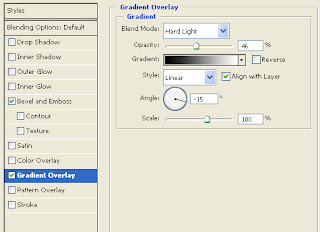
 3)Right click on Layer--Blending Options and use this setings :
 4)Create a hole in the tag with Eliptical Marque Tool
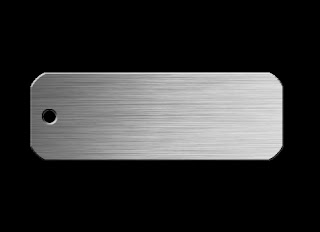 5)Make the image darker with Ctrl+Alt+M.
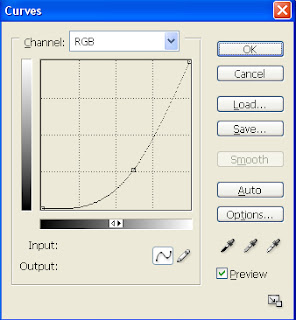
6)Write the text on the tag (i used this colour : 5c5c5c ) and apply from Blending Options the setings below for Bevel and Emboss.

 7)The image is already done but u can upgrade it . From this tutorial i used the "holes" . On the layer with the holes apply next Blending Options :

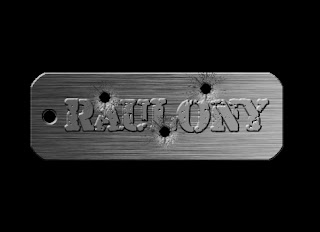 8)Press Shifl+Ctrl+E , select all (Ctrl+A) , copy the selected area , and then paste on the texture from this tutorial , then go to Select--Color Range and select the black colour . Delete the black part . Go to Edit--Transform--Rotate and rotate the tag a little bit . Final result :


1 comentarii:
what font did you use?
Trimiteți un comentariu