
In this tutorial Easy-Psd will teach you how to add to a car a drawing effect + drift motion . 1)First you need a picture with a car . Open the picture with the photoshop and with the Pen Tool ( P ) cut out the contour of the car , then right click on the car and click on Make Selection . Go to Select - Inverse , press Delete and then Select - Inverse again.
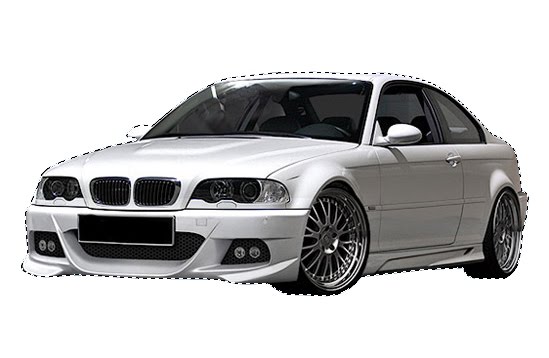 2)If the car is not black and white Desaturate it (Shift+Ctrl+U). Now we have to add the drawing effect to the image . Go to Image - Adjustments - Threshold and move the slite until you get a good result and click Ok .
Now your car should look like this :
3)The picture now got to many edges so we need to blur them a little bit . Go to Filter - Blur - Gaussian Blur and add a 1 px radius .
Now adjust the curves ( Image - Adjustments - Curves ) . Create an S shape like in the image below : 4) Copy the selected area ( Ctrl+C ) , create a new document with a larger Width and paste the selected area on it ( Ctrl+V ) . Right click on the layer where you put the selected area and go to Blending Options and add a 1 px black stroke and click on Bevel and Emboss . Move the car in the left part of the picture .
5) This part will be a little bit harder . Go on the first layer and make the background black . Create a new layer above the layer with the car ( Shift + Ctrl + N) and make a selection like in the image below .

Fill the selected area with white , deselect ( Ctrl + D ) and from the Filter - Stylize - Wind add wind from the left 3 or 4 times . Now move the "winded" layer under the layer with the car .Merge all the layers down and the image is ready .


0 comentarii:
Trimiteți un comentariu