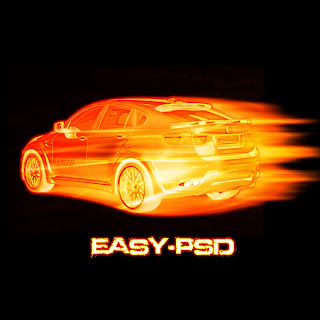
In this tutorial Easy-Psd will show you how to create a speed fire car with Adobe Photoshop.
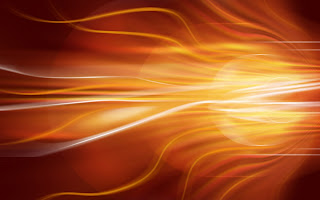
 For this tutorial we need a picture with a car , but the background of the image must be white. Another think we need is a fire background picture.I found this background on google:
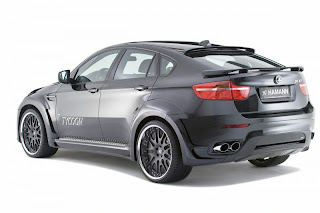
 Now find the image with the car. Don't forget about the white Background . I decided to use this picture because I love BMW :)
 For this tutorial we will use maybe an unusual thing. Open the image with the car , select the whole layer (Ctrl+A) and go to Edit-Define Brush Present and define the whole layer as a brush.
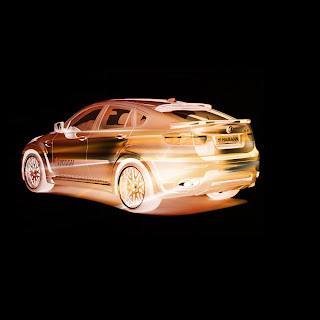
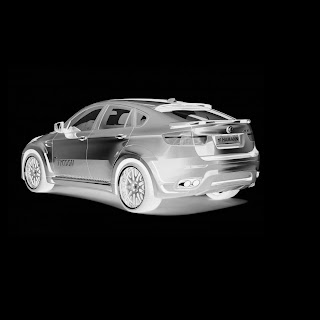 Create a new layer(Shift+Ctrl+N) and on this layer apply the fire background (Open the fire background document , press Ctrl+A , Ctrl+C and on the car document , on the new layer press Ctrl+V .Put the layer mod to Overlay . You should obtain something like this:
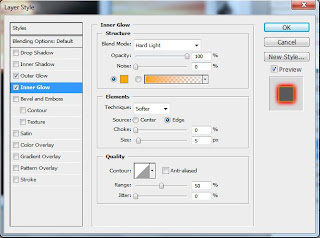
 Now right click on the layer where you applied the brush and go to Blending Options and apply the following settings:
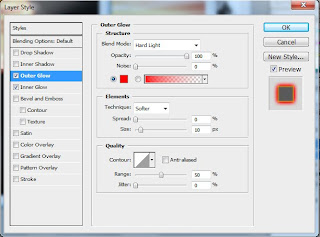 For the Outer Glow the color is #ff0000.
For the Inner Glow the color is #ffa800.
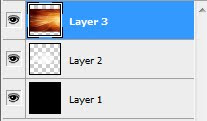
 I think that the image already look very nice but we can still improve it.Go on the layer with the brush and duplicate it ( Layer-Duplicate Layer). Now your layer pallet should look like this:
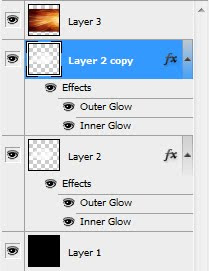 Now on the "Layer 2" we will add some filters. Go to Filter-Stylize-Wind From the Left and add this filter.To repeat the filter , hit 2 or 3 times Ctrl+F. Another filter will be Filter-Blur-Motion Blur and apply it with a 90 Angle and a Distance of 10 pixels.You should obtain something like this:
 Now the image is ready. You can also add some text with the same Blending Options like the one used for the car .If you like this tutorial please share it with your friends by clicking on the links below.For any questions just post here a comment.


